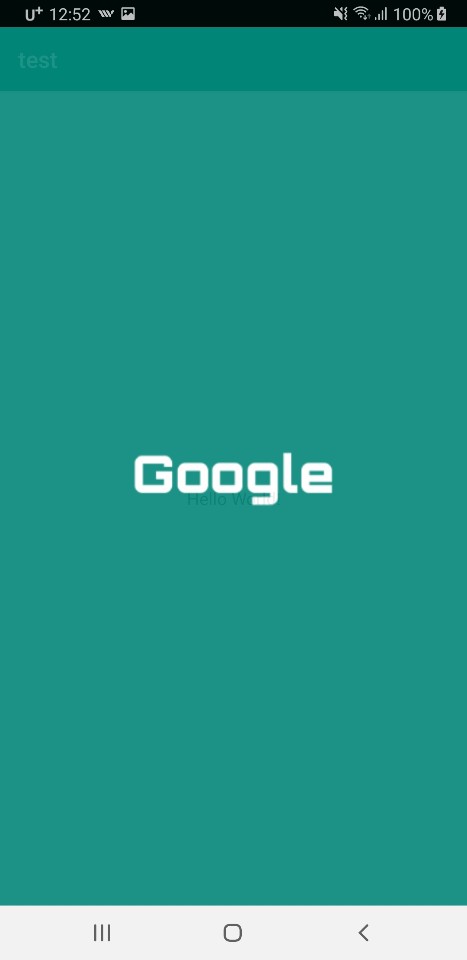
Android – 구글 방식의 로딩 화면을 만들어 보자! with. 코틀린

이 방식은 구글 앱에서 흔히 볼 수 있는 방식이며,
Chris Stewart씨의 강좌를 바탕으로 글을 씁니다.
원문: https://www.bignerdranch.com/blog/splash-screens-the-right-way/

안드로이드 Splash화면을 일반 액티비티처럼 만들면
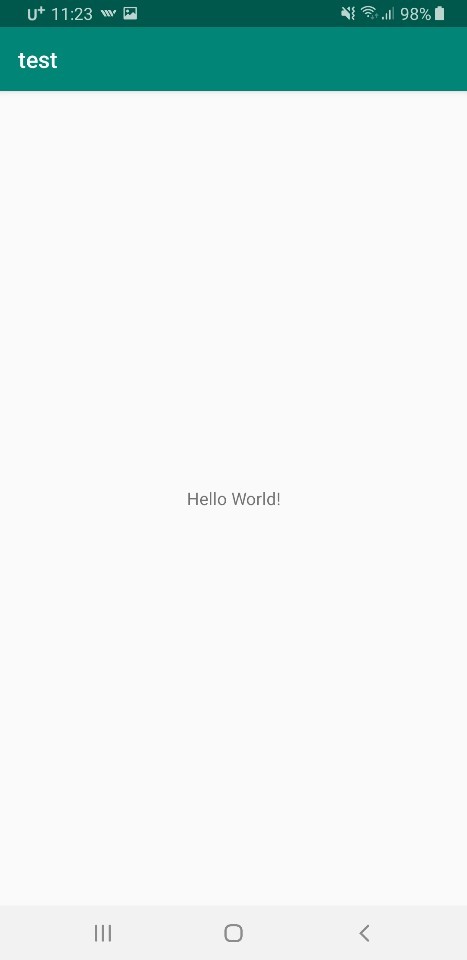
흰색 화면이나 검은 색 화면이 먼저 뜨게 됩니다.

이 흰색 화면이나 검은 색 화면을 뜨지 않고 로딩화면을 만들어보겠습니다.

준비 사항: SplashActivity를 새로 만들고 따라오는 xml파일은 삭제합니다.

1. layer-list방식의 splash.xml파일 만들기!!
< splash는 res/drawable에 생성합니다. >

Plain text
Copy to clipboard
Open code in new window
EnlighterJS 3 Syntax Highlighter
<?xml version="1.0" encoding="utf-8"?>
<layer-list xmlns:android="http://schemas.android.com/apk/res/android">
<item
android:drawable="@color/colorPrimary"/>
<item>
<bitmap
android:gravity="center"
android:src="@drawable/google"/>
</item>
</layer-list>
<?xml version="1.0" encoding="utf-8"?> <layer-list xmlns:android="http://schemas.android.com/apk/res/android"> <item android:drawable="@color/colorPrimary"/> <item> <bitmap android:gravity="center" android:src="@drawable/google"/> </item> </layer-list>
<?xml version="1.0" encoding="utf-8"?>
<layer-list xmlns:android="http://schemas.android.com/apk/res/android">

    <item
            android:drawable="@color/colorPrimary"/>
    <item>
        <bitmap
                android:gravity="center"
                android:src="@drawable/google"/>
    </item>

</layer-list>

layer-list는 여러 개의 이미지를 저장하는 리스트입니다. 요소는 item으로 구분하며 이미지를 갖고 있어야 합니다.

adroid:drawable에 들어가는 파일은 로딩화면의 배경에 해당됩니다.

bitmap은 특정 이미지를 기준으로 유용한 처리(위치 지정 등)를 가능하게 하는 태그입니다.

andorid:src에 들어가는 파일은 bitmap에서 처리할 이미지에 해당됩니다.
<필자는 drawable/res에 google.png파일을 첨부하였습니다.>
<이미지를 첨부하는 가장 쉬운 방법은 이미지를 복사하고 drawable에 붙이기하는 방법입니다.>

정리해보면,
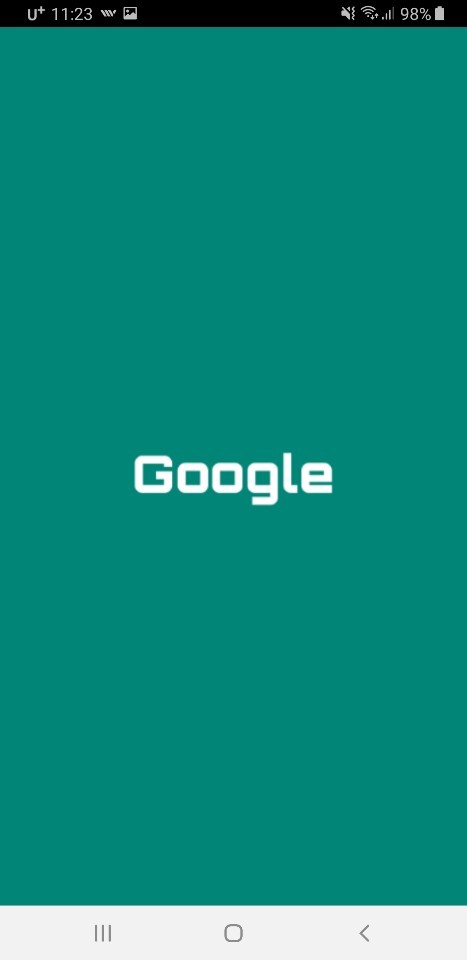
[ ColorPrimary(초록색)를 배경으로 사용하고 google.png파일을 중앙에 배치시킨다. 이들은 이미지 역할을 하니 layer-list태그로 감싼다. ]
가 되겠네요!!

2. splash.xml을 요소로 사용하는 테마 만들기!
< 테마는 styles.xml에서 다룹니다. >

Plain text
Copy to clipboard
Open code in new window
EnlighterJS 3 Syntax Highlighter
<resources>
<!-- Base application theme. -->
<style name="AppTheme" parent="Theme.AppCompat.Light.DarkActionBar">
<!-- Customize your theme here. -->
<item name="colorPrimary">@color/colorPrimary</item>
<item name="colorPrimaryDark">@color/colorPrimaryDark</item>
<item name="colorAccent">@color/colorAccent</item>
</style>
<!-- Splash(로딩화면)에 적용할 테마. -->
<style name="SplashTheme" parent="Theme.AppCompat.NoActionBar">
<item name="android:windowBackground">@drawable/splash</item>
</style>
</resources>
<resources> <!-- Base application theme. --> <style name="AppTheme" parent="Theme.AppCompat.Light.DarkActionBar"> <!-- Customize your theme here. --> <item name="colorPrimary">@color/colorPrimary</item> <item name="colorPrimaryDark">@color/colorPrimaryDark</item> <item name="colorAccent">@color/colorAccent</item> </style> <!-- Splash(로딩화면)에 적용할 테마. --> <style name="SplashTheme" parent="Theme.AppCompat.NoActionBar"> <item name="android:windowBackground">@drawable/splash</item> </style> </resources>
<resources>

    <!-- Base application theme. -->
    <style name="AppTheme" parent="Theme.AppCompat.Light.DarkActionBar">
        <!-- Customize your theme here. -->
        <item name="colorPrimary">@color/colorPrimary</item>
        <item name="colorPrimaryDark">@color/colorPrimaryDark</item>
        <item name="colorAccent">@color/colorAccent</item>
    </style>

    <!-- Splash(로딩화면)에 적용할 테마. -->
    <style name="SplashTheme" parent="Theme.AppCompat.NoActionBar">
        <item name="android:windowBackground">@drawable/splash</item>
    </style>

</resources>

<!–Splash에 적용한테마. –> 내용만 살펴보면 됩니다.

테마 이름은 SplashTheme로하고 Theme.Appcompat.NoActionBar를 부모 테마로 사용하겠습니다.
부모 테마의 모든 내용을 가져오기 때문에 NoActionBar은 자동 적용이 됩니다.

테마의 요소(item) 이름을 android:windowBackground로 하면 테마에서 배경으로 쓸 파일을 지정할 수 잇습니다.
파일은 이전에 만든 splash.xml을 사용합니다.

여기서 잠깐!

왜 layout에서 xml을 만들지 않고 테마로 작업하는지 의문이 들 수 있습니다.

테마는 onCreate할 때 자동 매핑됩니다.
setContentView를 하지 않아도 설정한 배경이 나타납니다.
또한 기존 방식 xml을 사용하면 흰색 화면이나 검은 색 화면이 뜨고 로딩이 시작됩니다.

3. AndroidManifest에서 처음 시작하는 액티비티 바꾸기!

Plain text
Copy to clipboard
Open code in new window
EnlighterJS 3 Syntax Highlighter
<?xml version="1.0" encoding="utf-8"?>
<manifest xmlns:android="http://schemas.android.com/apk/res/android"
package="com.example.test">
<application
android:allowBackup="true"
android:icon="@mipmap/ic_launcher"
android:label="@string/app_name"
android:roundIcon="@mipmap/ic_launcher_round"
android:supportsRtl="true"
android:theme="@style/AppTheme">
<여기만 보세요!!>
<activity android:name=".SplashActivity"
android:theme="@style/SplashTheme">
<intent-filter>
<action android:name="android.intent.action.MAIN"/>
<category android:name="android.intent.category.LAUNCHER"/>
</intent-filter>
</activity>
<여기까지 보세요!!>
<activity android:name=".MainActivity">
</activity>
</application>
</manifest>
<?xml version="1.0" encoding="utf-8"?> <manifest xmlns:android="http://schemas.android.com/apk/res/android" package="com.example.test"> <application android:allowBackup="true" android:icon="@mipmap/ic_launcher" android:label="@string/app_name" android:roundIcon="@mipmap/ic_launcher_round" android:supportsRtl="true" android:theme="@style/AppTheme"> <여기만 보세요!!> <activity android:name=".SplashActivity" android:theme="@style/SplashTheme"> <intent-filter> <action android:name="android.intent.action.MAIN"/> <category android:name="android.intent.category.LAUNCHER"/> </intent-filter> </activity> <여기까지 보세요!!> <activity android:name=".MainActivity"> </activity> </application> </manifest>
<?xml version="1.0" encoding="utf-8"?>
<manifest xmlns:android="http://schemas.android.com/apk/res/android"
          package="com.example.test">

    <application
            android:allowBackup="true"
            android:icon="@mipmap/ic_launcher"
            android:label="@string/app_name"
            android:roundIcon="@mipmap/ic_launcher_round"
            android:supportsRtl="true"
            android:theme="@style/AppTheme">

<여기만 보세요!!>
        <activity android:name=".SplashActivity"
            android:theme="@style/SplashTheme">
            <intent-filter>
                <action android:name="android.intent.action.MAIN"/>

                <category android:name="android.intent.category.LAUNCHER"/>
            </intent-filter>
        </activity>
<여기까지 보세요!!>

        <activity android:name=".MainActivity">
        </activity>
    </application>

</manifest>
android:theme="@style/SplashTheme">
<intent-filter>
    <action android:name="android.intent.action.MAIN"/>
    // 프로그램의 메인 화면으로 지정하는 소스 
    <category android:name="android.intent.category.LAUNCHER"/>
    // 앱을 실행할 때 제일 처음으로 나타내게 하는 소스 
</intent-filter>

먼저 액티비티에 SplashTheme테마를 적용합니다.
이후, 기존 MainActivity에 존재한 intent-filter블럭을 SplashActivity로 옮깁니다.
위 소스는 옮겨진 후의 소스입니다.

4. SplashActivity 다루기!

Plain text
Copy to clipboard
Open code in new window
EnlighterJS 3 Syntax Highlighter
package com.example.test
import androidx.appcompat.app.AppCompatActivity
import android.os.Bundle
import android.content.Intent
import android.os.SystemClock
class SplashActivity : AppCompatActivity() {
override fun onCreate(savedInstanceState: Bundle?) {
super.onCreate(savedInstanceState)
SystemClock.sleep(300)
val intent = Intent(this, MainActivity::class.java)
startActivity(intent)
finish()
}
}
package com.example.test import androidx.appcompat.app.AppCompatActivity import android.os.Bundle import android.content.Intent import android.os.SystemClock class SplashActivity : AppCompatActivity() { override fun onCreate(savedInstanceState: Bundle?) { super.onCreate(savedInstanceState) SystemClock.sleep(300) val intent = Intent(this, MainActivity::class.java) startActivity(intent) finish() } }
package com.example.test

import androidx.appcompat.app.AppCompatActivity
import android.os.Bundle
import android.content.Intent
import android.os.SystemClock


class SplashActivity : AppCompatActivity() {

    override fun onCreate(savedInstanceState: Bundle?) {
        super.onCreate(savedInstanceState)

        SystemClock.sleep(300)
        val intent = Intent(this, MainActivity::class.java)
        startActivity(intent)
        finish()
    }
}

인텐트를 이용해서 MainActivity로 이동합니다. 이동이 되면 finish()를 통해 로딩화면을 종료합니다.

기호에 따라 sleep메소드를 줄 수도 있습니다.
sleep을 주지 않으면 0.1초에서 0.2초간 로딩화면이 보인다고 생각하시면 됩니다!

끝!!
Leave a Reply

Your email address will not be published. Required fields are marked *